Showing posts with label DIY Diary. Show all posts

Wednesday, April 10, 2013

DIY Diary // 07


As a kid, I hated home improvement stores. It probably stems from the time we closed down one-that-shall-remain-nameless with my parents, after spending two hours on a Friday night staring at a display of mantles (that all looked the same and were all ugly, mind you) and leaving without one. That was the day I vowed I would NEVER return to a home improvement warehouse...and never, ever become an adult. How boring.

And then this week, I made three trips to our local big-box hardware store in one day. I'm really good at keeping promises to myself.


A few weeks ago, I posted a mood board for our kitchen makeover, and I am so thrilled that one huge part of that is now complete! Since our wedding and receiving all kinds of wonderful things from our registries, we have been unable to use our kitchen table. All of the items that wouldn't fit into the existing cabinets found a home there, so we knew we needed to come up with a way to create some extra storage space in an area that doesn't have much square footage to begin with. A custom option seemed the only way to go, and from my years of scouring the internet for fun things to do with a home, I remembered and found some resources for making shelves out of plumbing fittings (which, hilariously, the pipes are called nipple...and you can bet that we made plenty of jokes about that) and boards...all of which can be purchased at your local - you guessed it - home improvement store.

Most of the blogs that feature creations like I envisioned are very vague when it comes to exactly how to concoct your own custom shelving unit; however, armed with a list of general materials and my middle school tech ed knowledge (the first time in 15 years that I've appreciated the fact that my parents encouraged me to take tech ed as an elective in sixth grade - I hated being one of only five girls in that class while my other friends took theater arts, and visual art, and music), I was able to draw out my vision and order the supplies I *thought* I needed. Hence, the excessive number of trips to Home Depot.


This was my list of supplies:


2 - 6" galvanized nipple (feet below the bottom shelf)
18 - 8" galvanized nipple* (horizontal supports)
12 - 12" galvanized nipple (vertical supports)
2 - 18" galvanized nipple (longer vertical support between third and fourth shelves)
12 - 3 way tee fitting (connect vertical and horizontal supports)
20 - 90 degree elbows (attach to back side of horizontal support, and attach crossbars at top)
6 base flanges (two for bottom feet w/6" nipple; four for top support)

(all nipple was 1/2" width)

*It turns out that I actually needed fourteen 8" pipes and four 10" pipes for the top crossbars...I will now be making something with four extra 8" pipes that were ordered in excess

Short shelves x 3 - 24" long pine board (one 6' board cut into three pieces did the trick)
Long shelves x 2 72" long pine board

Sandpaper
Black matte spray paint (for the pipe)
Wood stain (for the shelves)
Tung oil (for the shelves)
Degreaser (to clean the pipes, we used Dawn)
Hanging hardware
Drop cloth or cardboard
Lots and lots of old t-shirts or other cloth that can be thrown away

A drill with 7/8" drill bit (even though the nipple is only 1/2" wide, we learned the hard way that that is the measurement of the inside of the pipe - that was another trip to Home Depot. The outside measures 3/4", but because wood doesn't stretch at all, 7/8'' is the perfect size to drill your hole).

And a few things I learned along the way:
  • Just accept that a big project like this (definitely the most ambitions DIY I've attempted to date!) is going to take longer, cost more, and involve more trips to the hardware store than you'd like or could imagine - unless you really, really know what you're doing. I didn't have any clue what I signed up for.
  • Order supplies online. I promise it will save you money, even with shipping. You'll appreciate the savings when you have to go back and rebuy supplies at a brick-and-mortar store because you did something wrong.
  • Googling any process that you're unfamiliar with is a good idea before you get started. I had never stained wood before, and was a little sad that the stain did not go on evenly when we applied the first coat to our pine boards. A google search after the fact told me that it would have been a good idea to apply sealer first. At least I also learned from that article that it's a good idea to apply a finish after the stain...which was another trip to Home Depot, but at least I knew!


It's all worth it in the end. I literally poured blood (cuts from twisting a drill bit with my bare hands, one of my less brilliant moves), sweat, and tears (when we cracked one of the boards beyond usability - after it was stained and finished) into this project. But I can't stop looking at it now that it's done, and we LOVE being able to use our kitchen table again! (Okay, I also have to note that the shelves need more stuff/styling...I put a couple things in to photograph them, but it's still a work in progress). Next up, adding curtains and textiles and objects, and then we will be in a REALLY good place.


If you're looking for a good online tutorial for making something similar, this was my favorite (definitely the most helpful/useful).


Thursday, March 28, 2013

DIY Diary // 06


Is there anything more wonderfully DIY than a garden?

Last year, I wanted to find out the color of my thumb. Prior to receiving some succulents for my birthday, I think the only plant I had ever cared for was some lavender that came in a florist's basket that somebody sent one of my parents when I was seven. It died. But I don't really know if it was my fault for overwatering it or if it became lunch for one of our family cats. Maybe a little of both, but I wasn't convinced that it was a black mark against me.

I'm proud to say that four of the five succulent plants that I got last year are still alive, which I think gives my thumb fairly green hue. The one casualty was my sweet little cactus that died while we were away on our honeymoon, although it wasn't looking so good in the weeks before, leaning like the famous Italian tower until it fell over, completely horizontal. After the painful experience of planting it using makeshift paper-towel mittens that got stuck in the hooks (and removing the paper from the cactus spines was not an adventure I'd like to repeat), I'm not so sure I'll be replacing it this year. I also can't say much for the basil plant we bought on a whim from the grocery store that turned into brown stalks over the winter, but since Ben was primarily responsible for that plant, I don't think it counts against my mostly positive record.


Once we finish our major kitchen project, I can't wait to add to our outdoor oasis. Although we don't have a yard, we make good use of our sunroom during the spring, summer, and fall. Any plants that we decide to add will have to be in pots, and I think I've found just the ones:


Make your own planters:

1 // Hanging plant shelf // 2 // Gold rimmed terracotta pots // 3 // Dipped cement planters
(Okay, so the hanging plant shelf doesn't actually have instructions, but that would be so easy. Buy a board. Buy some hemp. Buy hanging hardware that works with your walls. Tie it up, you're done. Boom.)

Or buy and fill with your own plants (succulents are easy to care for and look good too):

4 // Metallic cement planters // 5 // Faceted hanging planters

Any of these would be beautiful on a patio, or even individually on a shelf or table to bring some of the outdoors in. Either way, a garden is your own little happy place, and putting plants in pots is a very easy, doable DIY project for a spring weekend!

*Also, how cute would the metallic cement planters look as centerpieces for a wedding? You could totally make them yourself if you wanted. Just sayin'*

Thursday, March 21, 2013

DIY Diary // 05


A Mood Board for the Kitchen

Now that I'm not traveling every weekend, I'm dedicating my free time to getting our house the way I've always dreamed it could be. First order of business is the kitchen.

Even though we just purchased our little space back in January, we've actually been living here for almost 2 years. We rented before we owned and when the opportunity to buy came about, we decided it made sense for a lot of reasons. Even though I'm not under any illusions that we'll stay here forever (Ben and I would both like to explore living in other parts of the country), I still want to make our home a place that I love...because you never know, we might end up being here awhile, or at least until we can't live with sharing a single bathroom.

So the kitchen...before we moved in, everything was renovated, so we have the typical stainless steel appliances and granite countertops that developers assume everyone wants in their kitchen. Sadly, I'm not everyone. The color choice is not ideal and the room generally feels bland. But, the cost of renovating it again is not something we can afford to do right now (not to mention, I hate the idea of creating so much waste), so I have to find a way to make it work...and I think I finally have.

A few months ago, I came across this styled shoot and fell in love. Like deep in love. So much, in fact, it started to manifest itself in a lot of my design choices. And one day, while I was staring at the granite countertop that I almost despise, it came to me. I could use those colors in our kitchen. It would work...and maybe turn a room that I thought I would always have to deal with into a place that I could love.

We started last weekend by painting a wall (you cannot imagine my excitement over being able to paint...it's liberating to be able to have your own walls to douse in any and every color imaginable...this is the joy of being an adult). And it makes me like it better already. There's still a lot of work to do; I'm going to attempt to build some shelving so we have some more storage for various kitchen necessities. This may or may not go well, based on this past week's adventures, but hopefully I've passed my bout of bad luck with drywall and molly bolts, and maybe, just maybe, this project will move smoothly. I'll keep you posted on that one.

Here's a photo of what the kitchen looks like right now...and yes, my next project after the shelves will be to do something about the UFO hanging off the ceiling. It is another reason I need a dislike button.

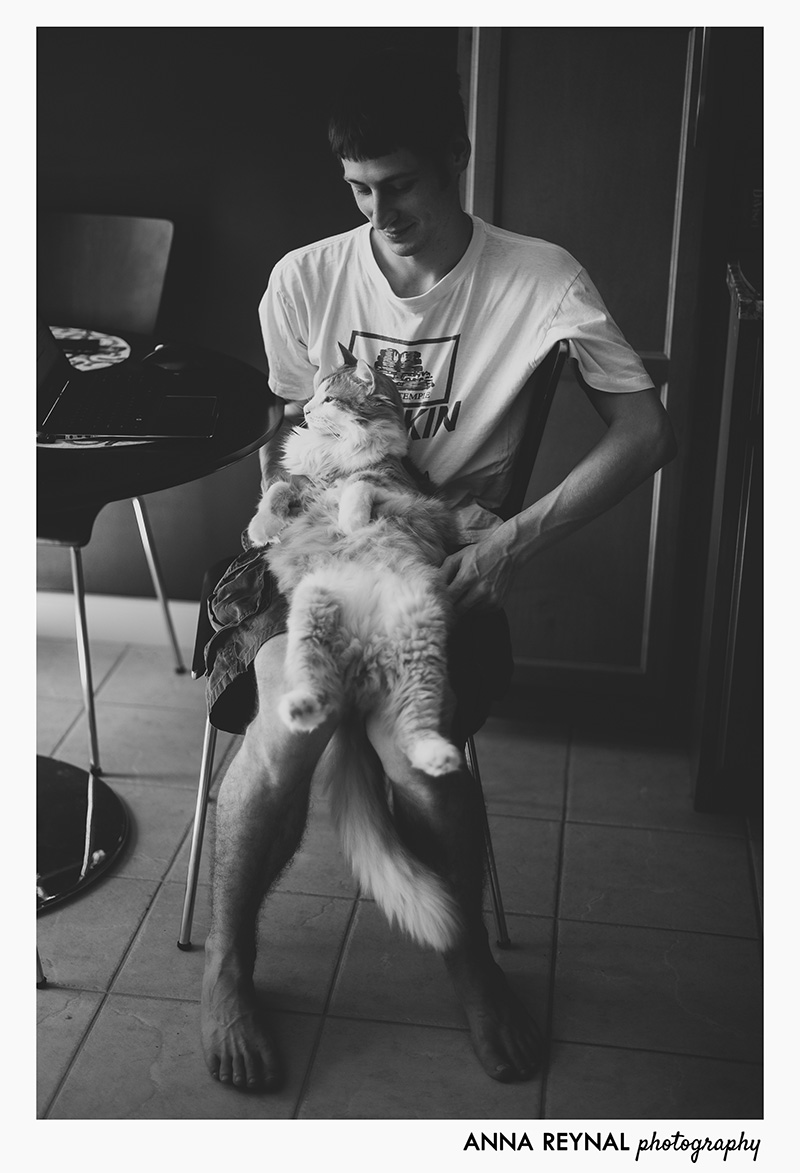
In addition, I will take any and all advice on how to keep this from happening. And trust me, I've tried telling him to get off the table. The result is this look...


Sometimes we can't have everything we want, but when you can DIY, you might be able to work with the kitchen (or whichever room) you have to make it a place you'll love. Make a mood board inspired by a photograph or piece of art you heart...see where it takes you :0).

Photo sources here.


Friday, March 15, 2013

DIY Diary // 04


Latest obsession: giant paper flowers. Like so, see above. I want to pull that off.

I used to think I wasn't a flower person (kind of like that time I thought I wasn't a pink person...). But then spring rolls around and I find flowers on my mind and in my pictures a lot. That, and I am obsessed with flowers used as a statement, to add a sense of style, and I can't help but feel uplifted when I see a pop of color or a graceful petal that beautifies a space or a place or a celebration. This past week while in Nashville, I was even compelled to stop into a cute little store upon seeing gigantic flowers in the window.

And, I love it when my husband (or anyone, really) sends me flowers. I will always remember the Valentine's day that I got a surprise delivery of tulips from my dad. It might have just been the best gift he ever gave me...something that was completely unexpected, I wouldn't do for myself, but let everyone know how much he cared. There is no better feeling than being the recipient of thoughtfulness and love.

Problem is, I have furry children who eat flowers like cupcakes. Keeping live flowers in the house is a luxury that can be dangerous to them, so we, sadly, avoid it as much as possible. Although live flowers have a special energy all their own, I've seen a whole bunch of DIY paper options floating around over the past few months and am thinking of trying to make some flowers for the house to bring in the beauty of spring.

So here's a little roundup of some fabulous looking DIY flowers for you to make one or many...to bring joy into your home for spring, or to save and make the next time you need something to make a celebration extra joyful.

Clockwise from top left: Water color paper flowers // Giant paper rose // Coffee filter rose // Giant tissue paper flower


Friday, March 8, 2013

DIY Diary // 03


DIY Brides, this one's for you.

I LOVE finding inspiration for DIY projects. Reading magazines, books, browsing Pinterest and blogs - I could literally do it all day and be perfectly content (well, that is, until I find a project that just screams DO IT NOW…and then I get a little distracted). But when you have a specific idea in mind, it can be overwhelming to sort through all of that content to find what you're looking for…especially when there a deadline approaches and you don't need one more thing to take one second longer than absolutely necessary.

When we were planning our wedding, a new site emerged around the same time called Lover.ly. I was insistent that I had to make EVERYTHING for our wedding (a case of bride brain, I'm sure), and while I had a full Pinterest board of ideas, there were a few details that I hadn't thought to pin, like boutonnieres for the boys. In a frantic rush, I wanted to find something that I could whip together that didn't involve flowers. My first instinct was to return to Pinterest, however a search for something so specific (and hard to spell) did not turn up much in the way of inspiration. That's when I decided to check out Lover.ly, and low and behold, I found a great idea within a few minutes.

Here's the thing - I really couldn't have planned our wedding without using both. Working through an entire internet of inspiration is not an easy thing, which is why sites like Pinterest and Lover.ly exist in the first place. And with the explosion of wedding blogs and social media, I'm sure it seems like there's always a new site to jump on, learn, and then forget about. But in this case, I truly think that these two sites offer two experiences that, although different, can be incredibly useful when used together.


Pros: Almost everyone is on it. Social sharing is one of the best ways to find things you like or that inspire you, because they're coming from your friends, who generally like the same things you do. Which also makes it infinitely more fun. A wide variety of categories means that you can keep all of your inspiration in one place - whether it be for your house, your wedding, your office, your future snuggly puppy…and you can organize your ideas onto a board for each category. Once you've pinned a number of things to each board, you can start to see overall trends in what you like, which is wonderful for big-picture or mood planning.

Cons: The search feature. Pinterest has grown organically and is a very visual platform. The text feature below each photo is great for explaining why that picture is worth repinning, or what is cool about the article that the pin links to, but most people don't bother to make it searchable. In many cases, the text is left blank or is very general. I'm totally guilty of this. That's part of what makes the site so great, that I can put whatever text I want with the photo so that I know why I pinned it, even if it is a very small detail in the photo. However, the search function on the site pulls directly from the inputted text, and because that text is nonexistent, vague, and/or very subjective, finding specific things through a text search is quite difficult. A category search can sometimes be faster, but most of the categories are broad, which means going through LOADS of pins before you find the one you are looking for.


Pros: The search features. Lover.ly is set up to pull from blogs. Most blogs that feature weddings also provide links to the creative team that put together the wedding. Each photo includes vendor information, as well as a link back to the original post that it came from. Additionally, a category search can help you narrow down the large number of images to just what you are looking for. The color search function and the theme search are also incredibly useful to help you find details that will fit with a specific color scheme or style. Basically, this awesome combination of search features allows you to find details and vendors who can best help you paint that picture in your head.

Cons: While Lover.ly allows you to create an account to save favorite images, it's just not quite as fun as Pinterest. It is one more site that you have to remember to check, and the social element is not quite as exciting. Although, if you don't want to share your wedding inspiration on Pinterest, like if you want to keep everything a surprise or don't like to pin wedding related things, the heart feature on Lover.ly would probably be really useful. Because it is only wedding focused (at this point), it doesn't have a lot of use to people who aren't into weddings (although finding a DIY project that could be adapted for the home is possible). 

So to get the best of both worlds, just search for what you need on Lover.ly, then pin the source on Pinterest. It might seem round-about, but in the end, you'll save yourself time spending hours searching on Pinterest or looking up your password for Lover.ly (or maybe I'm the only one who loses passwords? I hear they have apps for that…).

Friday, March 1, 2013

DIY Diary // 02


Sometimes a DIY project will never get done if you don't step outside your comfort zone.

Last summer, I decided to take the plunge on a website and attend the Sitehouse Go Live! Workshop in Phoenix to make it happen. It was the best decision I made for my business that year. Not only did it result in a website, I still keep in touch with the girls I met there and love cheering them on with their latest pursuits. But even more, it was an opportunity to learn a new skill that I can use to enhance my business, brand, and online personality for years to come, which is why I'm super glad I made that investment.

Making my own website was a huge undertaking, and I know that I might not have one today had I not decided to spend money in order to put aside the time to make it happen. In fact, as my little business baby and I have grown together, it's time to reflect that in my online presence...and believe it or not, I've been working on it (inconsistently) for over two months now, which feels like forever considering the first version was mostly put together in two days. The point is, getting started on a major project is the hardest part and sometimes you have to give of your most precious resources and remove yourself from your daily routine in order to get yourself into the frame of mind to just do it.

This doesn't only apply to business pursuits - it goes for my kitchen and my bare walls and the dresser that desperately needs to be painted in my bedroom. There's probably not a workshop that I can fly to to get help with these things, but I can go buy the paint. I can buy picture frames and invest in some prints from Etsy artists. I can go to Anthropologie and find some fabulous new drawer pulls to spruce up that dresser. Whatever project it is that has you with one foot on either side of the fence, identify a step you can do and then go for it. I promise you won't regret it in the end.

______________________________

P.S. If you are a photographer (or really, any small business owner) and want to build your website with one of the world's coolest designers and her team...check out the Sitehouse Workshop that's happening in April. Feel free to email me with any questions you have...I can talk your ear off with tales of it's awesomeness :)


Friday, February 22, 2013

DIY Diary // 01


If you're on the hunt for some DIY inspiration this weekend, either for an event or just for fun, here are a few places to start.

Clockwise from top left:

01 // Design Love Fest: Check out the Make It section for lots of great projects and ideas. Lots of glitter and color and simple projects that can definitely be done in a day. (I like simple DIYs. Problem is, I always think things look easy and then five hours into it, I realize they're not. So take my notion of simple with a grain of salt.)

02 // Green Wedding Shoes: My favorite place for perusing quirky wedding decor has some great large scale projects to decorate for a wedding, or even a special party. Most of the statement pieces you'll find here will take some time...maybe a whole weekend or two.

03 // Ruffled: So this is also technically a wedding blog, but so many of the DIY projects they feature need to make their way into my house...like right now. Lots of colorful, smaller projects that could be made in masses if you so desired.

04 // Oh Happy Day: More party decorating DIYs that can easily be glamified (oooo...I like this word I just made up) for a wedding. Most are on the easier side, but if you're making lots, beware of projects that look deceptively less time-consuming than they actually are.

And even if you don't have a moment to make something, I think you'll enjoy looking through the archives to find something to do when the time is right. Happy DIYing!